step by step extend volume size in openstack
Openstack Extend Volume
Step 1:
View the current volume groups by “pvs” command
pvs

/dev/loop0 is cinder-volumes lvm2, its 20 GB volume
Step 2:
Increase the capacity of the volume group by creating a new partition
cd /var/lib/cinder
dd if=/dev/zero of=cinder-volumes1 bs=1 count=0 seek=50G

Here:
cinder-volumes = file name
50GB = new volume size
Step 3:
File is associated to the loop device /dev/loop1
losetup /dev/loop1 cinder-volumes1
Step 4:
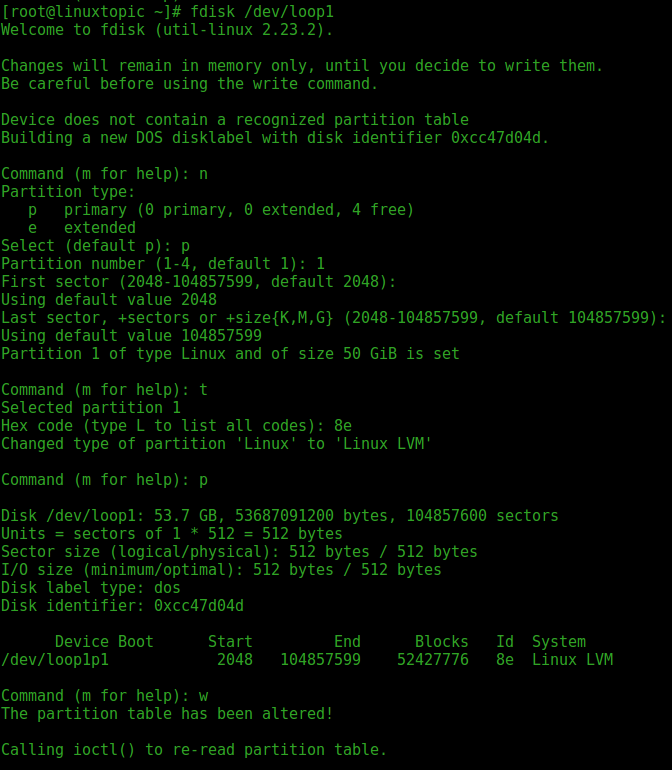
Create partition using fdisk
fdisk /dev/loop1
Create New Partition :
Command (m for help): n
Partition type:
p primary (0 primary, 0 extended, 4 free)
e extended
Select (default p): p
Partition number (1-4, default 1): 1
First sector (2048-104857599, default 2048): #Enter
Using default value 2048
Last sector, +sectors or +size{K,M,G} (2048-104857599, default 104857599): #Enter
Change Partition type
Command (m for help): t
Press L for List OR type 8e for Linux LVM
Hex code (type L to list all codes): 8e
Check Partition
Command (m for help): p
Save partition table
Command (m for help): w
Update Partition Tables
partprobe
Step 5:
Create a physical volume
pvcreate /dev/loop1
WARNING: dos signature detected on /dev/loop1 at offset 510. Wipe it? [y/n]: y
Wiping dos signature on /dev/loop1.
Physical volume "/dev/loop1" successfully created.

Extend the volume group
vgextend cinder-volumes /dev/loop1
Volume group "cinder-volumes" successfully extended

View Updated volume groups by “pvs” command
pvs

Let’s see the available physical devices :
vgdisplay

Now enable loop1 on every boot:
vi /etc/rc.d/rc.local
Add below command
losetup /dev/loop1 cinder-volume1


Comments
Post a Comment